I started off pulling all the ships out and putting the unmade ones together then sorted all the cards out. Looking at the points values I decided that 300 points a side would look right and would suit 4 players. I always try to get a game to cope with 4 players as I don't always know who will want to play on the day.
Originally I set up the forces on a 3ft by 3ft map but it didn't look right and checking the rules I realised I could use 4ft by 3ft and that was much better.
The game area:
The Imperial force cards etc is the first 2 rows and the Rebels the top 2:
I wanted a force people would recognise so for the forces I picked are:
Rebels - 300 pts
Frigate - Admonition with the overall commander General Cracken
Corvette-A Tantive IV cpatained by Raymus Antilles
Corvette-A captained by Toryn Farr
2x A-wing squadrons
1x YT2400
Imperials - 300 pts
Imperial Class 1 Star Destroyer - Relentless with overall commander Admiral Screed, and tractor beams
Victory Class Star Destroyer captained by Admiral Titus
Gozanti class cruisers with the vector capability
5 x TIE fighter squadrons
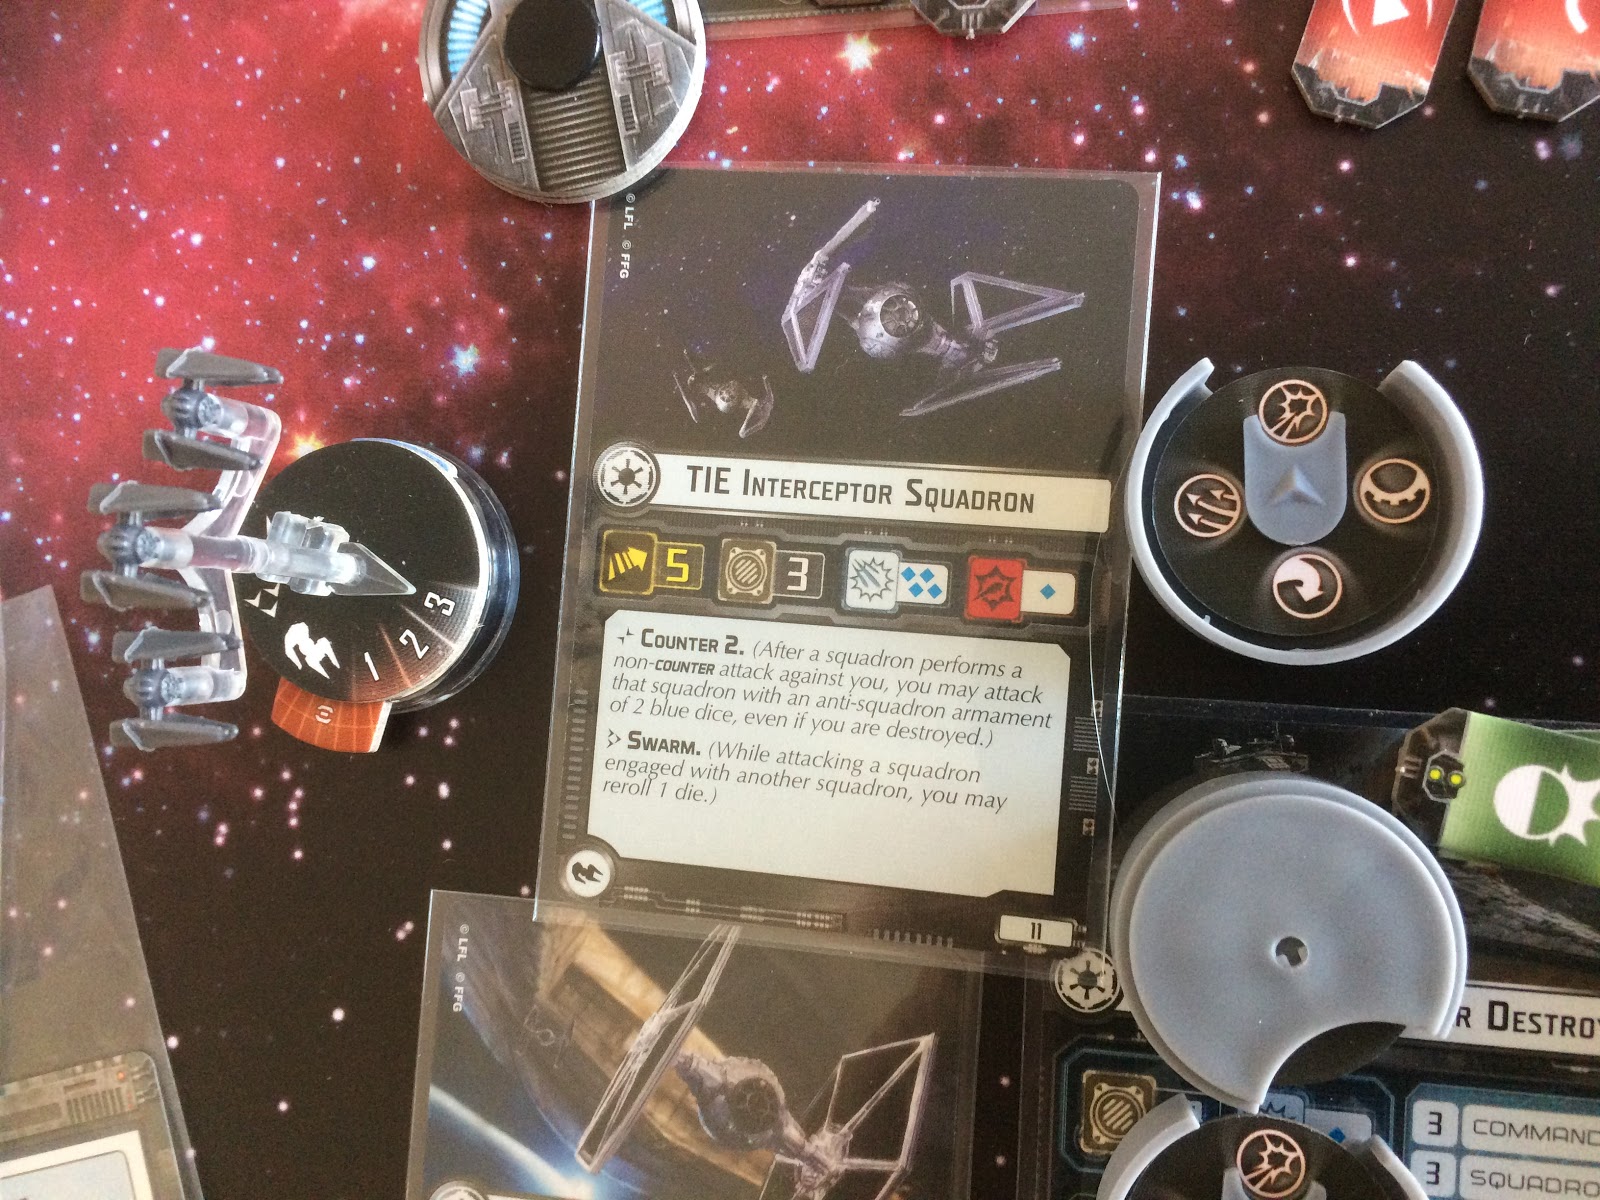
2 x TIE Interceptors
The Game
I chose the 'Intel sweep' mission. I split both forces placing units in each corner angled so that they could intercept in the centre of the board. I then placed the objectives which undid this strategy - not on purpose. I didn't reset the forces as this was a solo game to remind of the rules so that I'd ensure a smooth game at the club.
![](https://blogger.googleusercontent.com/img/b/R29vZ2xl/AVvXsEhkKwn_TulfhSyikBU1zr_LvGyH9sKgoq6beE6K-V779hsTkXss4fVcnrp1j6ywCgXNbU6IgprTplDLIatlbH35nZ-quYE5TbByGRa3CvTQJ2z8YLUDAFld3NC7a1vGvXrzggm2TLOOXLc/s320/IMG_6844.JPG) |
The scout frigate picked up the first objective |
![](https://blogger.googleusercontent.com/img/b/R29vZ2xl/AVvXsEjsGHiZGelxoYe6sZMGd6BTGAA4FKHdnwfzZeCfE-us0w7R68Ft_4XEMCrKn_1WSTbbCi0s1ajIL06W6SDrg3JNIAFb2FCRMoHRbRwHrQvjaDR6JFo55xpIFXkqaKrZf1IeWKuvxf3o0DA/s320/IMG_6845.JPG) |
The Rebel right was in trouble straight away |
![](https://blogger.googleusercontent.com/img/b/R29vZ2xl/AVvXsEhH0WRwtcl-Zhs7yxkX3dGDt4ln-hWDDsXK65jrk1EEw-256Txo8zZXnjQksNaGME14XDrmhJb_zLxZTtVWBUERKM3ocJ97jb2SCOEHrvRvpGvVZx3om3iP9zjE3HuzfrHufojW0dK7k9M/s320/IMG_6846.JPG) |
Boom - Tantive IV destroyed with the opening shot |
![](https://blogger.googleusercontent.com/img/b/R29vZ2xl/AVvXsEiCipdnCYICrwZV6wDrJYdlHplDHe2whMNSz4X9In9BMLzkBGwxW0iCm5NE9mcbATngS9UlkmGHxfmPguYPdMiGU4b58Z0Op71eZlTWaGUb3FXffay2zyjs5_UjFDCDIy9wCulX2fIvd48/s320/IMG_6848.JPG) |
TIE fighters attack the Scout Frigate |
![](https://blogger.googleusercontent.com/img/b/R29vZ2xl/AVvXsEg9buIZ4kRPna19k7X5EgxnCktgin_sfqzBO2RRFE89Kh7KVoNkP_eBim7dxDuNXhlTc7PoceSym9Ily-fAp_ue_AbANk0uIbwkAEHDU1X_3oW6dwRadw3lrKgNR7vJrrtiKPoZLQOgakk/s320/IMG_6849.JPG) |
Toryn Farr aims her corvette towards the centre |
![](https://blogger.googleusercontent.com/img/b/R29vZ2xl/AVvXsEjWHEk9qN4YezMBwWSIUFspAjrOI0QB11oEKGmi3m5uFge9MpeWnBJ0-9uJlumfE0fZ48t6lFVXWUQ8zTcJttdQ4ufnhIURDnzbE7n0vesdj_41agHUiRaK20JcapKxib9E93i-ptdvhn0/s320/IMG_6850.JPG) |
A lone A wing squadron takes on the Imperial left |
![](https://blogger.googleusercontent.com/img/b/R29vZ2xl/AVvXsEgofDBnwMhKSG0whBewheNjjVZeMtxmswdPCrtNzAHXzO8i3OkMj4XAeLaqvUweFhBjD-pamAzANrG3v7012ZXbzoo0HQixS5rVGOz7UkoGoVncrLZRtYzYgNNW722r998swMKEcLVLewY/s320/IMG_6852.JPG) |
Toryn Farr heads for another objective |
![](https://blogger.googleusercontent.com/img/b/R29vZ2xl/AVvXsEjMnhfjm3Uy_Bz1Jxsjgq3ROFgYr5SQHmA3aSEKydrknlidNFHRAYc75ImELBGNPN8jNRp96_Pc2ckWplyR6kI91xXJaJJPeLpbcDbZgUh5CiAA2SpTojywJV4OFA9skJOSRSvH0Jpl8Ns/s320/IMG_6853.JPG) |
The A wings go in |
![](https://blogger.googleusercontent.com/img/b/R29vZ2xl/AVvXsEgX02psw-iTofH5r9g8M7nxro2DyyZED4uqPMhyXWBqLLVCTE3vpvIKvt2SZuB6PDJDmQt840TevpGqzahkK4SW1DDM7UgW376Jy9wZ2s4le4nuZykxYVdVgoxqw_aAebHtElydYrAi4b0/s320/IMG_6854.JPG) |
The TIE's head for the Frigate and Corvette having destroys an A wing squadron. Only the YT2400 is left of the Rebel squadrons supporting the Scout Frigate |
![](https://blogger.googleusercontent.com/img/b/R29vZ2xl/AVvXsEh3BgpQVYdhpY1BRV7bvR3b7y6sB2nKC0vTm_06lWf2b0kpfvhWVZcAluPRHm2jNAzoVngl-XkolvShtYWoijeyOjGujhL25w9fnz08pqnL6BLhc9_aJiKPmPvIqS-6tg6tR7ALnZ0HlpQ/s320/IMG_6858.JPG) |
The Rebel right wing A wing squadron draws blood taking out their TIE interceptor counterparts |
![](https://blogger.googleusercontent.com/img/b/R29vZ2xl/AVvXsEiFiG1NOTSsT0fGW4H-eUyVwhGmWX9EDQ9Y40mZjIqSKr7hHnUa5tkKAlOgf0NFqAr3cUzyZcyH1Nf2mXHvIjSh41LV5_tex3zvZVzOLTtmemTaB5PRsP9tZTiwztBmQ3wUQFiISn_AB-4/s320/IMG_6855.JPG) |
The TIE's focus on Toryn Farr |
![](https://blogger.googleusercontent.com/img/b/R29vZ2xl/AVvXsEjksAsjkSV88KUKKvty_8Z1sBwdSp0i8exuObaHvmJjWRRo-9xcEgSsrO9SIGv5b6yzgwtu3YI4552lc2Zfrdp_9d7p-vcp5jeKQ7QS3M0Z7vH98nLYlKzgiTxunHV462cRZEdFghIhMBM/s320/IMG_6856.JPG) |
The cruisers blast away at the A wings and miss |
![](https://blogger.googleusercontent.com/img/b/R29vZ2xl/AVvXsEh5qT70bwgwrqKjlHs0Y5DKJ4on4h7UYdGxJ27usorcXTTFpF8IYQHeMp_0vSEm6rZWRBVBLGacCtESGfKQFJmLtZkP3KDzyRr2NaONS1wdb664BFzNmcg7-X67Riz3Atp0MEbA4Il53Ew/s320/IMG_6857.JPG) |
The Rebel ships destroyed so far |
![](https://blogger.googleusercontent.com/img/b/R29vZ2xl/AVvXsEiMO2DuuDIVNwVeEeBCVnCVybGyGlT9BMbWsR3M_b3bc9428hCgAsoO1D8yX_JESgFwlW57MMJh5e3aQJvMbRa5cZNpLqABlStwpifayxyE2N3yHr17e_YGiM6PBRlEkvIrG5NVF2ATTC8/s320/IMG_6858.JPG) |
The Imperial tally |
![](https://blogger.googleusercontent.com/img/b/R29vZ2xl/AVvXsEgatSZycEp6ARX9q0hgTISamzkw99OLPZtNjyzN3YVOGTVlYgBzeG_Iw3zQjEMuAlIwz6Jg-9JeqtwJDC-PRcBn29vNOfMC_FEjNvT5srdZjIBAG3HQTii7pmwNiTXmk-OHb-wCt-JGSNs/s320/IMG_6864.JPG) |
The YT2400 doesn't make it. The Corvette narrowly misses flying off the board |
![](https://blogger.googleusercontent.com/img/b/R29vZ2xl/AVvXsEjbukSQjAmdCY2l7zQxvzp-2spWCWnoH-SPM9pPXHLdjsQCsPIZhCyYV5-r8NaUGSrVUavfGv5b4tz6StPrGna4L3X5tlVAsoz_HybbL_g331uSyEFP5gAp-W3UVUSQR9tfPNduSe61K3U/s320/IMG_6865.JPG) |
The Scout Frigate takes shots to the rear |
![](https://blogger.googleusercontent.com/img/b/R29vZ2xl/AVvXsEj19CozxMdeum-5DmoNhsehtM6ahGO5mqddvtQS31Wk6PCB0ASyIH14CdsNNYZ1Aeroecx2pNGwlNCbSk4-2rNo-nOh62g0_USl4hdrd32PeBDNgdteajl0goLoAVjXsXMW2vtvtWF8W4I/s320/IMG_6867.JPG) |
The last A wings bracketed |
![](https://blogger.googleusercontent.com/img/b/R29vZ2xl/AVvXsEhEQGhX6fVyPGpYMhwYAkQrps-FBMHYluzQoplCDdMKvmEISZixADB_CPvRAV-B5SNpc43wnn42wOixReRw6sNFh_LYzjvUtjtcVZchmpUjVV_bJC4r-IpfviONyVZNSq7R77l_anUc2Y4/s320/IMG_6868.JPG) |
The Scout Frigate narrowly misses flying off the table |
![](https://blogger.googleusercontent.com/img/b/R29vZ2xl/AVvXsEhG8kgZRZkBgKvNomfxGQDp3J9G_6AQDfXqLtjX-YKGRbYax3toK15yv4v_fRcPaa-tmVfN8N1p_twbKgwEDD8vg0HKToNsHzqpxwFj913bO0a0svu2SzfxhiCgXCHzYRzCOlDCzVkXzMw/s320/IMG_6869+%25281%2529.JPG) |
Toryn Farr opens fire on the rear of Admiral Titus's Star Destoyer |
![](https://blogger.googleusercontent.com/img/b/R29vZ2xl/AVvXsEipsiS4txLKY8vIhrZfE4rWkKUCyy8C0PkRHrs8J2ktSkrpZA4uBw7RJCxRPWO5nKh7-o_vGzvL7cL-0daAmRbkTPb-pl-SdzRhl2OKRE-B3VrFd9ewDgUQG7fPNQOCbe2avmmi0epbSuA/s320/IMG_6870.JPG) |
The A wings are no more |
![](https://blogger.googleusercontent.com/img/b/R29vZ2xl/AVvXsEiSBtUYW5sSWQ0txwzxhfMwumpeDtApVEBjXgOLmJPKLBphg33bHCOs9LALsvCnzEwFIopn-B9MQc9PiR4-3UQpgcI-reeh5Ml_PzhPhwwNnQxWVr6Ro1Zqkec4DlUwF6nnAQVv_eP6lYM/s320/IMG_6872.JPG) |
The game ends with only Toryn Farr and Titus engaged |
It was a fun game, but it did feel one sided. I did learn that if I had a Corvette and the Scout Frigate firing on the Imperial Class Star Destroyer I could have taken it out with the right dice, disabusing me of its invulnerability. On the other hand a Star Destroyer with the right dice can destroy a Corvette in one go, which hurts with small forces. I like the way the rules worked and they made the game exciting, and the objective token changed how I played.
I'm now ready for the January game.
(The quick witted will notice this is getting published in March, which indicates how slow I am getting these out. I started writing this before the Jan game and kept the same present tense to avoid rewriting it. Assuming I haven't used past and present - which does happen!)
Nice report dude. It looks fab I must admit.
ReplyDelete