The planned Dust warfare game has been postponed as Chris's planned reinforcements have not arrived in time from the States. We're currently sorting out a new offering. Worse case the popular and easy set up X Wing will appear for the second month running hosted by moi.
On venue news Mel has been working like a trooper and has a few options. Some permanent, some temporary. This April has a temporary venue lined up near Conwy, which I'll confirm nearer the time.
Friday, 15 April 2016


Thursday, 14 April 2016
Conwy Wargames Club Russia 1941
I arranged to host a Battle Group game so that I could try out my force I was taking to the Battle Group Campaign weekend which was on the following weekend in October 2015. Dickie and Pete opted to command the Soviets and Gaz and myself took charge of the Germans. I was always going to be German as this the team I will be on for the campaign.
I forgot to take the brief with me that had been sent out for the campaign weekend which had amendments to the attack/counter attack scenario so I ran it just as it said in the rule book.
Situation Report
The Germans have broken through the main lines and lead by their reconnaissance forces are driving forward. The Soviet reserves now counter attack.
Terrain
The tables formed a rough 6x4ft game area
 |
| Table layout. The distant cotton wool smoke are the Soviet objectives and the German objectives can be seen in the foreground. |
Deployment
Recon forces deploy anywhere on their side of the table apart from 10" from the middle. The middle being a line diagonal across the table in the book, but I made it a line long edge to long edge.
Objectives
The Germans placed 2 objectives on their base line. The Soviets placed theirs on a hill and woods which were level with each other either side of the road approx. 1 ft in from their table edge.
 |
| A German base line objective |
Special Rules
Dice for optional KV2, but we decided to play it anyway regardless of the score.
Turn 1 recon
Turn 2 D6 units
Forces
Germans Panzer Division kampfgruppe
Battle Rating (BR) 36
Total points 447
Officers 4
Scouts 3
Forward HQ:
SdKfz 265 Pz Befehlswagen r (SO,AS,U)
Infantry:
Schutzen platoon (O, MS) with AT grenades and 80mm mortar
Tanks:
3 x PzII F (O)
3 x PzIII H (O)
Recon:
2 x veteran snipers
1 x SdKfz 222 (S,MS)
Special Units
1 x 88mm with transport
Additional Fire Support:
Off table fire support request 4+
All regulars except the snipers
The Soviet list was put together by my friend Guy
Soviets
Battle Rating (BR) 36
Total points 450
Officers n/a
Scouts 1
Forward HQ:
Command plus jeep (MS)
Infantry:
2 x Reserve Motor Rifle platoon with Maxim MG
Tanks:
5 x T26
1 x T34
Artillery
FAO in jeep
120mm mortar battery
45 L46 AT gun battery with horse tow
Recon:
1 x veteran sniper and spotter
All inexperienced except the snipers.
The Game
 |
| The Soviet objectives marked by coloured smoke |
 |
| German objectives |
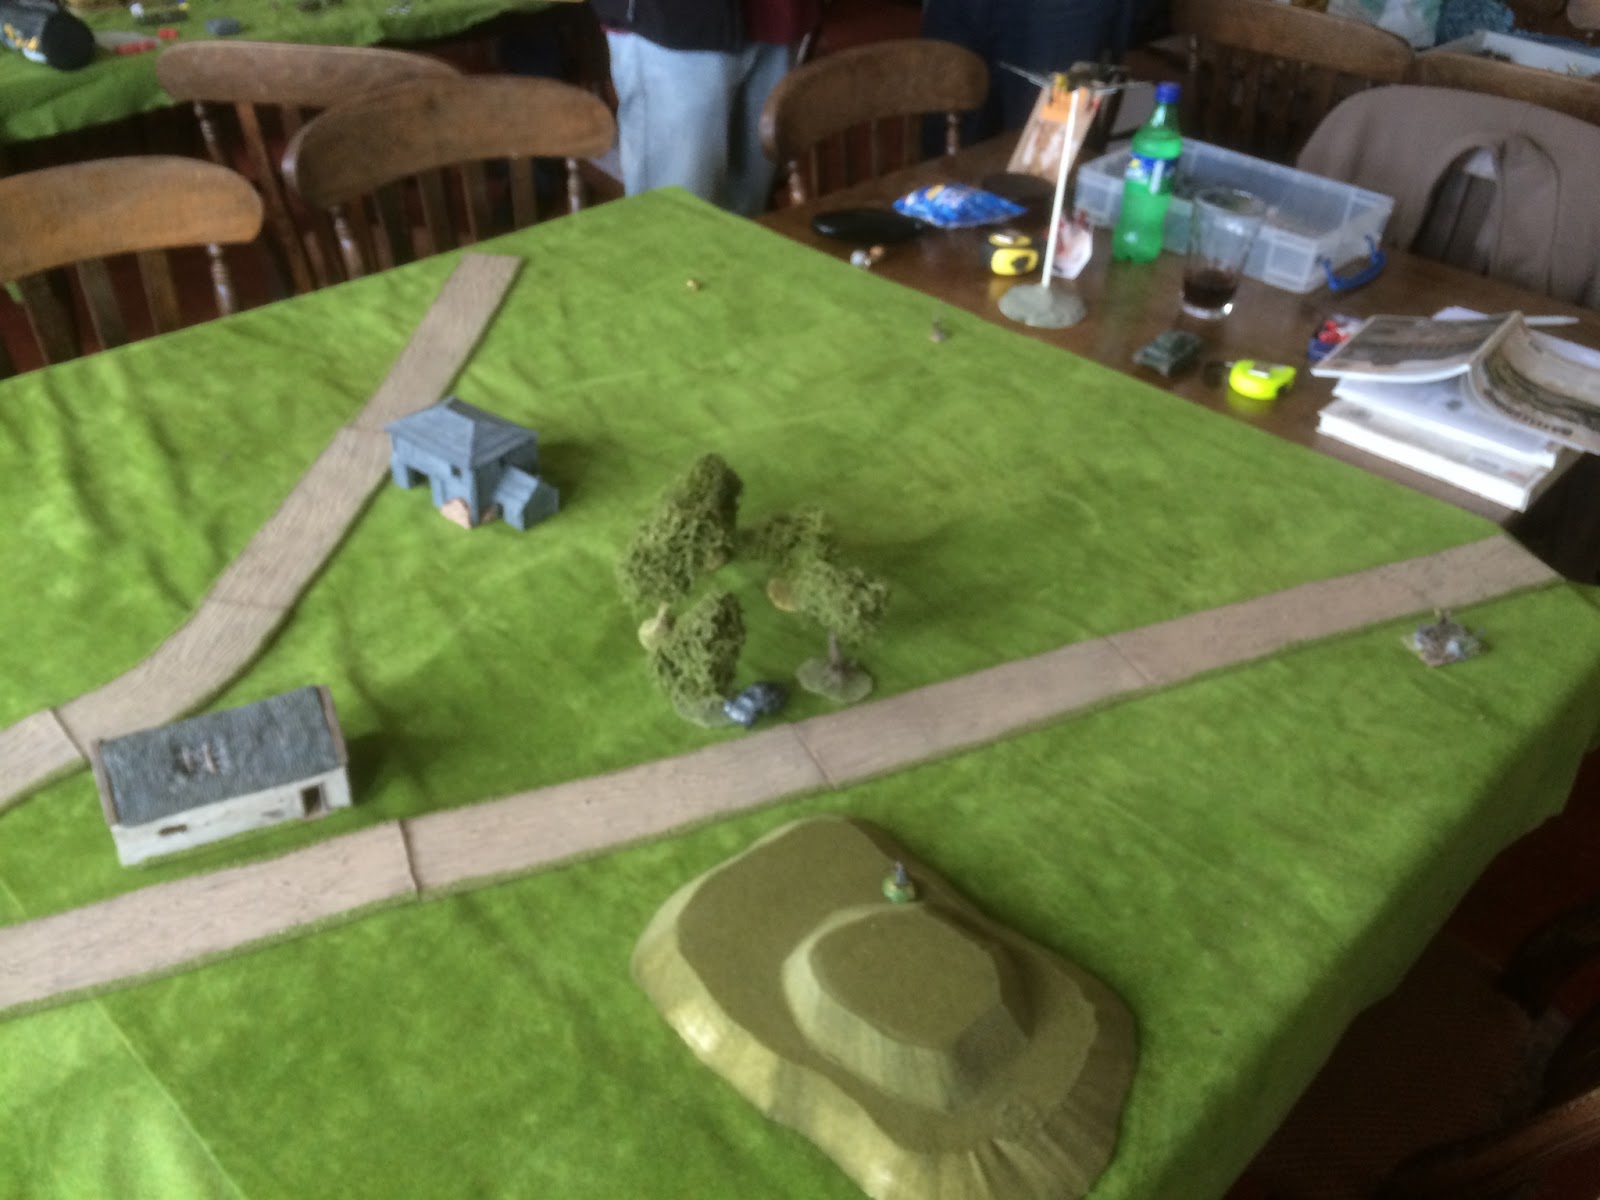 |
| German recce arrive and win the recce phase of the game by out numbering the Soviet recce forces |
 |
| German main force arrives and speed up the board |
 |
| German sniper hiding in a barn |
 |
| The Soviets damage the barn hiding one of the German snipers |
 |
| The Soviet recon team can be seen on the hill admiring their first and only turn 1 T34 arriving and speeding up the road. The Soviet command dice was appalling. |
 |
| The German command roll is much better |
 |
| 88 on the right of the picture being towed to the hill |
 |
| Panzer IIs advance lead by the SdKfz 265 Pz Befehlswagen on the road |
 |
| The 88 dominates the German left so the T34 goes right, just by the cottage |
 |
| The Soviets still rolling low for units bring on a KV2 and AT gun |
 |
| A few turns later and the German infantry have arrived and made it to the main line accompanied by Panzer IIIs. |

 |
| Looking great and hitting nothing |

 |
| A single tank blocking the German advance |
 |
| German artillery pin the Soviet AT gun marked by white smoke |
 |
| The remains of the AT gun battery moving in to position. About now we discover how little ammo the KV2 has! booo |
 |
| The KV2 may have limited ammo but it pins the 88 first time |
 |
| The PanzerIIs are not has hidden as they thought and the T34 kills 2. |
 |
| After multiple shots the German sniper is pinned |
 |
| More German infantry arrive, and casualties begin to mount as seen by the red dice beside the units |
 |
| The 88 is unpinned and takes as shot at the T26's on the road |
 |
| In the mean time the unpinned sniper attempts to sneak towards a Soviet objective |

 |
| I confess there was a stand in T26 |
 |
| The Soviet advance |
 |
| The 88 makes a kill |
 |
| The Soviet infantry finally make an appearance. The Soviet command dice hadn't got any better |
 |
| The T26's get their revenge and kill the 88. Lesson learnt 88mm's are shot magnets |

 |
| A very bloody turn. The Panzer III's in the centre finally knock out the T34, but one of them has been pinned. The lone Panzer II managed to pin an advancing T26 |
 |
| The chit drawn for the loss of the 88mm saw the Germans successfully bring a Stuka which pins the Soviet sniper and a T26 on the road. |

 |
| Embolded by their Panzers success the German infantry in the centre break cover form the woods and advance. |
 |
| The last German squad jogs down the road to reach the main battle line prior to a general advance. |
 |
| Time runs out and we look at how many Battle Ratings we've gained. The Soviets have 16 |
 |
| The Germans 9. A German win it is! Good omens for the campaign weekend |
Wednesday, 6 April 2016
Conwy Wargames Club Battle of Brandywine 1777
The first game of 2016 was January's Conwy Wargames Club meeting. Pete M had put together a scenario from the British Grenadier rules adapted for use with the Black Powder rules to refight the British main attack at the battle of Brandywine.
Background
General Howe's strategy for 1777 involved marching a large British and Hessian army across Pennsylvania to threaten the rebel capital of Philadelphia. He hoped this would force Washington to face him in battle. They met at Brandywine Creek with Washington in a defensive position.
Howe devised an ambitious plan. He divided his army, tasking General Knyphausen to take half the troops and towards Washington and pin him in place while Cornwallis and Howe marched the rest of the army to the rebel right flank to descend on their rear.
Washington was taken by surprise, but like New York managed to escape with his army.
Our battle recreates the scratch defence Washington put together to hold up the British flank attack.
Deployments
8x4ft board. Play was along the length of the board. A road ran length ways down the middle of the board representing the Dilworth to Sconneltown road.
The Americans 1/3 of the board which included a cross roads with building representing Birmingham Meeting House. The short length road ran down to the Brandywine Creek on the American left. To the left of the cross roads was a fence with could provide cover.

The creek was classed as fordable everywhere.
The British had 1 brigade deployed up to 1ft in and the remaining brigades coming on the board marching up the road.
All the Americans were deployed on the board in and to the sides of the Birmingham meeting house. 1 brigade was positioned marching up the road.
Objectives
British:
To drive the Americans from their positions, breaking as many units as possible and reaching their table edge.
American:
Prevent the British forces reaching your table edge.
Order of Battle
British - Major General Cornwallis - Staff rating 9
Cornwallis - Staff rating 9
16th light dragoons
42nd Light infantry - tiny
1st and 2nd Light infantry (2 battalions)
Hessian Jager - small
Edward Matthew - Staff rating 8
1st and 2nd Guards (2 battalions)
Guards Light infantry - small
William Meadows - Staff rating 8
1st and 2nd Grenadiers (2 battalions)
Royal Artillery 6pdr
The above 3 brigades were managed as a single brigade for moral purposes.
Colonel E Donop - Staff rating 9
Lengerde battalion
Linsing battalion
Minnergeode battalion
Hesse Cassel 3pder artillery
Major General Agnew - staff rating 8
33rd, 37th, 46th, 64th Foot (4 battalions)
Royal Artillery 6pdr
The following reinforcements didn't make it to the board
Major General Grey - Staff rating 9
15th, 33rd, 44th, 55th Foot (4 battalions)
American - Major General Sullivan - Staff rating 6
William Woodford - Staff rating 7
3rd VA - small
7th and 11th VA (2 battalions)
6 pdr artillery
Charles Scott - Staff rating 7
4th VA
8/12th VA
Grayson Patton
3pdr artillery
General De Borre - Staff rating 6
2/4th Regiment
6th Regiment
German Regiment
2nd Canadian
6pdr artillery
William Alexandra - Staff rating 7
3/6th PA
9/12th PA
NJ Skirmishers
3rd NJ
Colonel John Stone - Staff rating 8
1/3 Regiment
5/7 Regiment
3pdr artillery
How it played
Alex and myself commanded the Americans. Alex controlled General De Borre and Colonel John Stone and I the others.
The British were commanded by Dave, with Pete N commanding the Grenadiers and Chris the Lights, and Dickey the Guards


 Great game with lots of action. Victory went to the Americans as the British were unable to breakthrough and exit the American end of the board. The Americans had lost 1 brigades and the British lost 1 brigade, but it was their initial force which equivalent in size to 2.5 American brigades. The Americans had 1 fresh brigade, 1 not so fresh and 2 badly bruised brigades left against 4 fresh British brigades.
Background
General Howe's strategy for 1777 involved marching a large British and Hessian army across Pennsylvania to threaten the rebel capital of Philadelphia. He hoped this would force Washington to face him in battle. They met at Brandywine Creek with Washington in a defensive position.
Howe devised an ambitious plan. He divided his army, tasking General Knyphausen to take half the troops and towards Washington and pin him in place while Cornwallis and Howe marched the rest of the army to the rebel right flank to descend on their rear.
Washington was taken by surprise, but like New York managed to escape with his army.
Our battle recreates the scratch defence Washington put together to hold up the British flank attack.
Deployments
8x4ft board. Play was along the length of the board. A road ran length ways down the middle of the board representing the Dilworth to Sconneltown road.
The Americans 1/3 of the board which included a cross roads with building representing Birmingham Meeting House. The short length road ran down to the Brandywine Creek on the American left. To the left of the cross roads was a fence with could provide cover.

The creek was classed as fordable everywhere.
The British had 1 brigade deployed up to 1ft in and the remaining brigades coming on the board marching up the road.
All the Americans were deployed on the board in and to the sides of the Birmingham meeting house. 1 brigade was positioned marching up the road.
Objectives
British:
To drive the Americans from their positions, breaking as many units as possible and reaching their table edge.
American:
Prevent the British forces reaching your table edge.
Order of Battle
British - Major General Cornwallis - Staff rating 9
Cornwallis - Staff rating 9
16th light dragoons
42nd Light infantry - tiny
1st and 2nd Light infantry (2 battalions)
Hessian Jager - small
Edward Matthew - Staff rating 8
1st and 2nd Guards (2 battalions)
Guards Light infantry - small
William Meadows - Staff rating 8
1st and 2nd Grenadiers (2 battalions)
Royal Artillery 6pdr
The above 3 brigades were managed as a single brigade for moral purposes.
Colonel E Donop - Staff rating 9
Lengerde battalion
Linsing battalion
Minnergeode battalion
Hesse Cassel 3pder artillery
Major General Agnew - staff rating 8
33rd, 37th, 46th, 64th Foot (4 battalions)
Royal Artillery 6pdr
The following reinforcements didn't make it to the board
Major General Grey - Staff rating 9
15th, 33rd, 44th, 55th Foot (4 battalions)
American - Major General Sullivan - Staff rating 6
William Woodford - Staff rating 7
3rd VA - small
7th and 11th VA (2 battalions)
6 pdr artillery
Charles Scott - Staff rating 7
4th VA
8/12th VA
Grayson Patton
3pdr artillery
General De Borre - Staff rating 6
2/4th Regiment
6th Regiment
German Regiment
2nd Canadian
6pdr artillery
William Alexandra - Staff rating 7
3/6th PA
9/12th PA
NJ Skirmishers
3rd NJ
Colonel John Stone - Staff rating 8
1/3 Regiment
5/7 Regiment
3pdr artillery
How it played
Alex and myself commanded the Americans. Alex controlled General De Borre and Colonel John Stone and I the others.
The British were commanded by Dave, with Pete N commanding the Grenadiers and Chris the Lights, and Dickey the Guards
 |
| The American set up |
 |
| Birmingham meeting house |
 |
| The cross roads |
 |
| The Americans have a brigade is column on the road commanded by William Alexandra |
 |
| American left flank commanded by Colonel Stone |
 |
| British right flank |
 |
| British centre |

 |
| British light infantry with the Guards behind |
 |
| British grenadiers |
 |
| Turn 1 and the American deploy their column off the road and the British advance |

 |
| The British artillery opens fire |

 |
| The American General De Borre's troops line the road and man the buildings on one side of the road |
 |
| The Grenadiers keep moving forward |
 |
| British skirmishers cover the advance of the Guards |


 |
| Despite the American musketry and artillery fire the British keep advancing. By now the British had masked their own guns who fell silent. The lack of transport for guns on both sides really hampered their use. |
 |
| Not sure we should allowed deploying in the stream. The dice show casualties. An interesting dilemma occurred in the game illustrated in this picture. The American and British units are all classed as standard size and clearly their frontages did not match. We therefore for melee purposes only allowed 1 unit to face off against 1 unit otherwise the British would have faced 2 standard sized American units to their 1. The discrepancy occurred because Pete used the force sizes for British Grenadier, which would have coped with the different sizes. |

 |
| Alexandra's reserve brigade moves more to the left as the Grenadiers crunch in to Colonel Stones troops. Alexndra's skirmishers are seen moving back to the right to occupy a building |
 |
| The lines meet |
 |
| Lots of dice indicating mounting casualties but at this stage they are spread out across units |
 |
| The American right hand brigade is pushed back. The British still hold the houses and the Americans have a second line. |
 |
| The Chris's British break the American right hand brigade commanded by me but my second line stands. On the left a battalion of Grenadiers has dissolved from the combined artillery and musket fire followed up by a charge. |
 |
| Chris's troops ready to advance but they have fresh Americans to their front and occupied houses to enfilade them on their right. |
 |
| The victorious British keep on charging but come off the worst in the next melee. The red dice shows 4 stamina hits and the white 2 excess hits |
 |
| Colonel Donop and his Germans arrive on the road. |


 |
| Closely followed by a British brigade |
 |
| The American centre comes under pressure but still holds. The British Grenadiers are pushed back. |
 |
| The American right stabilises |
 |
| The British focus on the American centre |

 |
| The British left attacks |
 |
| ... and is thrown back |
 |
| Some very tired gunners push their piece towards the fight |

 |
| The heroic American guns hang on |
 |
| The British left advances again |
 |
| The Americans see them off in the same old style |

 |
| The American left starts to sort itself out having been driven back |
 |
| The last line of defence Alexandra's brigade |
 |
| The British left charges home |
 |
| The British batter the houses and shore up their right flank |
 |
| The British attack on the centre |
 |
| The guns arrive as the first British brigades break |

 |
| The rear of the fresh British brigade on table. At the end of the game the British had 2 more brigades to come on. |

Subscribe to:
Posts (Atom)