I haven't managed to play a game for a while now, if fact since my last post about the game in May. The joys of modern life keeping either myself or my gaming compadres busy. Since I'd been playing Battle Group Kursk a lot I fancied a break before returning for some Overlord games. Very slowly I have been painting my 25/28mm Crimean War Army and as that isn't finished I thought that a good old Napoleonic game would fit the bill. I've recently read the 100 days campaign supplement for Black Powder and I fancied trying out the rule amendments in this and the Peninsular book. This also gave me an excellent excuse to dust off an army I haven't played with since I inherited it, in fact some of the units were virgins to my bad generalship. Another added bonus was I could blood the French Perry infantry I finished this year!!
Background
Somewhere in Spain in the middle of the war with Napoleon a French force counter attacks the advancing polyglot forces of perfidious Albion. The French need to seize possession of a mountain valley to keep their supply lines safe. The Allies naturally need to secure the valley to cut off this French supply route and secure it for their future advance.
Deployments
The game was played on a 6ft x 8ft board with a stream running roughly diagonally across it. The tops of the hill and the stream were classed as rough ground as per the Black Powder rules.
The French deployed opposite the Allies on the 6ft edge.
 |
| Allied battle line |
 |
| French battle line |
 |
| View from the French lines |
 |
| View from the Allied lines |
Objectives
Break the other side.
Orders of Battle
Note: These units listed are based on what I have available, and where possible I've used the correct unit name rather than a name of a unit definitely in Spain.
The mid war organisation and stats were taken from the Black Powder Albion Triumphant Peninsular supplement.
I didn't use the points system in the book but went with the rule of thumb that both sides roughly had the same number of units.
No upgrades were taken for any of the forces.
French
Commanders:
General and 6 Generals De Brigade all Staff Rating 8
No other characteristics were used.
1st Brigade:
1/2nd Leger (light infantry)
1/2nd Leger
1/70th Line battalion (I can't really see the flag number properly, but I can make out a 7)
2/70th Line battalion
3/70th Line battalion
4/70th Line battalion
Corsican Regt battalion
2nd Brigade:
1/4th Line - large (4th because the previous owner had written 4 top left of the flag)
2/4th Line - large
1/55th Line - large ( I painted these, should be made elite but aren't)
3rd Brigade:
Provisional Croatian Regt battalion
1/76th Line battalion
2/76th Line battalion
3/76th Line battalion
50th Line battalion
Heavy Cavalry Brigade:
Dragoons - small
Dragoons - small
Dragoons - small
Horse artillery battery
Light Cavalry Brigade:
4th Hussars - small
1st Hussars
Polish Lancers
Horse artillery battery
Artillery Brigade
2 Foot battery's
Allies
Commanders:
General and 7 Brigadier Generals all Staff Rating 8
No other characteristics were used.
British 1st Brigade
28th North Gloucestershire
50th West Kent - large
79th Cameron Highlanders - large, using line stats not Highland (identification a guess)
95th Rifles company - tiny
Royal Artillery foot battery
British 2nd Brigade
23rd Royal Welsh Fusiliers
88th Connaught Rangers
87th Prince of Wales Own Irish
95th Rifles company - tiny
Royal Artillery foot battery
British Light Cavalry Brigade
12th Prince of Wales's Own Light Dragoons - small
10th Prince of Wales's Own Hussars - small
15th King's Hussars - small
Royal Horse Artillery battery
Spanish Infantry Brigade
Principe Regt battalion
Cantabria Regt battalion
Saboya Regt battalion
Guadalajara Regt battalion - classed as Grenadiers for the game. I think unit has incorrect flags.
Militia battalion
Guerrillas - tiny
Spanish Light Cavalry Brigade
7th La Mancha Lancers - Looking these up for this report I've discovered they fought for Jerome. I've played with these chaps with the 2 previous owners and they've always fought against the French!
Rey Regt - actually a heavy cavalry unit in an 1802 uniform, played as light cavalry
Spanish Artillery Brigade
2 x Foot Artillery with A La Meurte special rule
Guerrillas - tiny
Portuguese Brigade
1/18th 2nd Porto
1/23rd 2nd Almeida - may have wrong flags. Scarlet collar piping has hidden the blue underneath.
4th Cazadores
Foot Artillery battery
How it played
Turn 1
The Allies got the first move and advanced on the right and left pushing forward the cavalry brigades. The plan on the Allied right was to brush aside the French Dragoon brigade and allow the British 1st Brigade to take the hill overlooking the stream on the French left forcing a the French to form a diagonal attack allowing the Allies to defend the hills! The British Cavalry brigade on the left needed to slow down the French main advance and cause casualties before the Cazadores could do them same.
The Royal Horse Artillery opened fire at long range and did no damage.
The French took all these moves in quietly and calmly pushed their Dragoon brigade up taking the hill the British were looking to occupy. Their Light Cavalry brigade support failed a brigade order and watched from the opposite bank of the stream.
The French infantry brigades in attack columns all advanced as far as their command roles plus terrain modifiers allowed. A rough diagonal approach was forming much to the Allied delight.
The French firing began with their horse artillery attached to the Dragoon brigade disordering the treacherous La Mancha lancers. However their 1st Brigade showed that weight of fire counts shaking two of the British cavalry regiments thus breaking the morale of the British Light Cavalry brigade. Not bad for the first shots.
 |
| The French advance |
 |
| The French Dragoons (actually Guard Dragoons) and the disordered La Mancha Lancers in the distance with the white cotton (smoke) |
 |
| View end of turn 1 from the Allied lines |
 |
| A look along the Allied lines with the British cavalry in the distance just before their removal. |
Turn 2
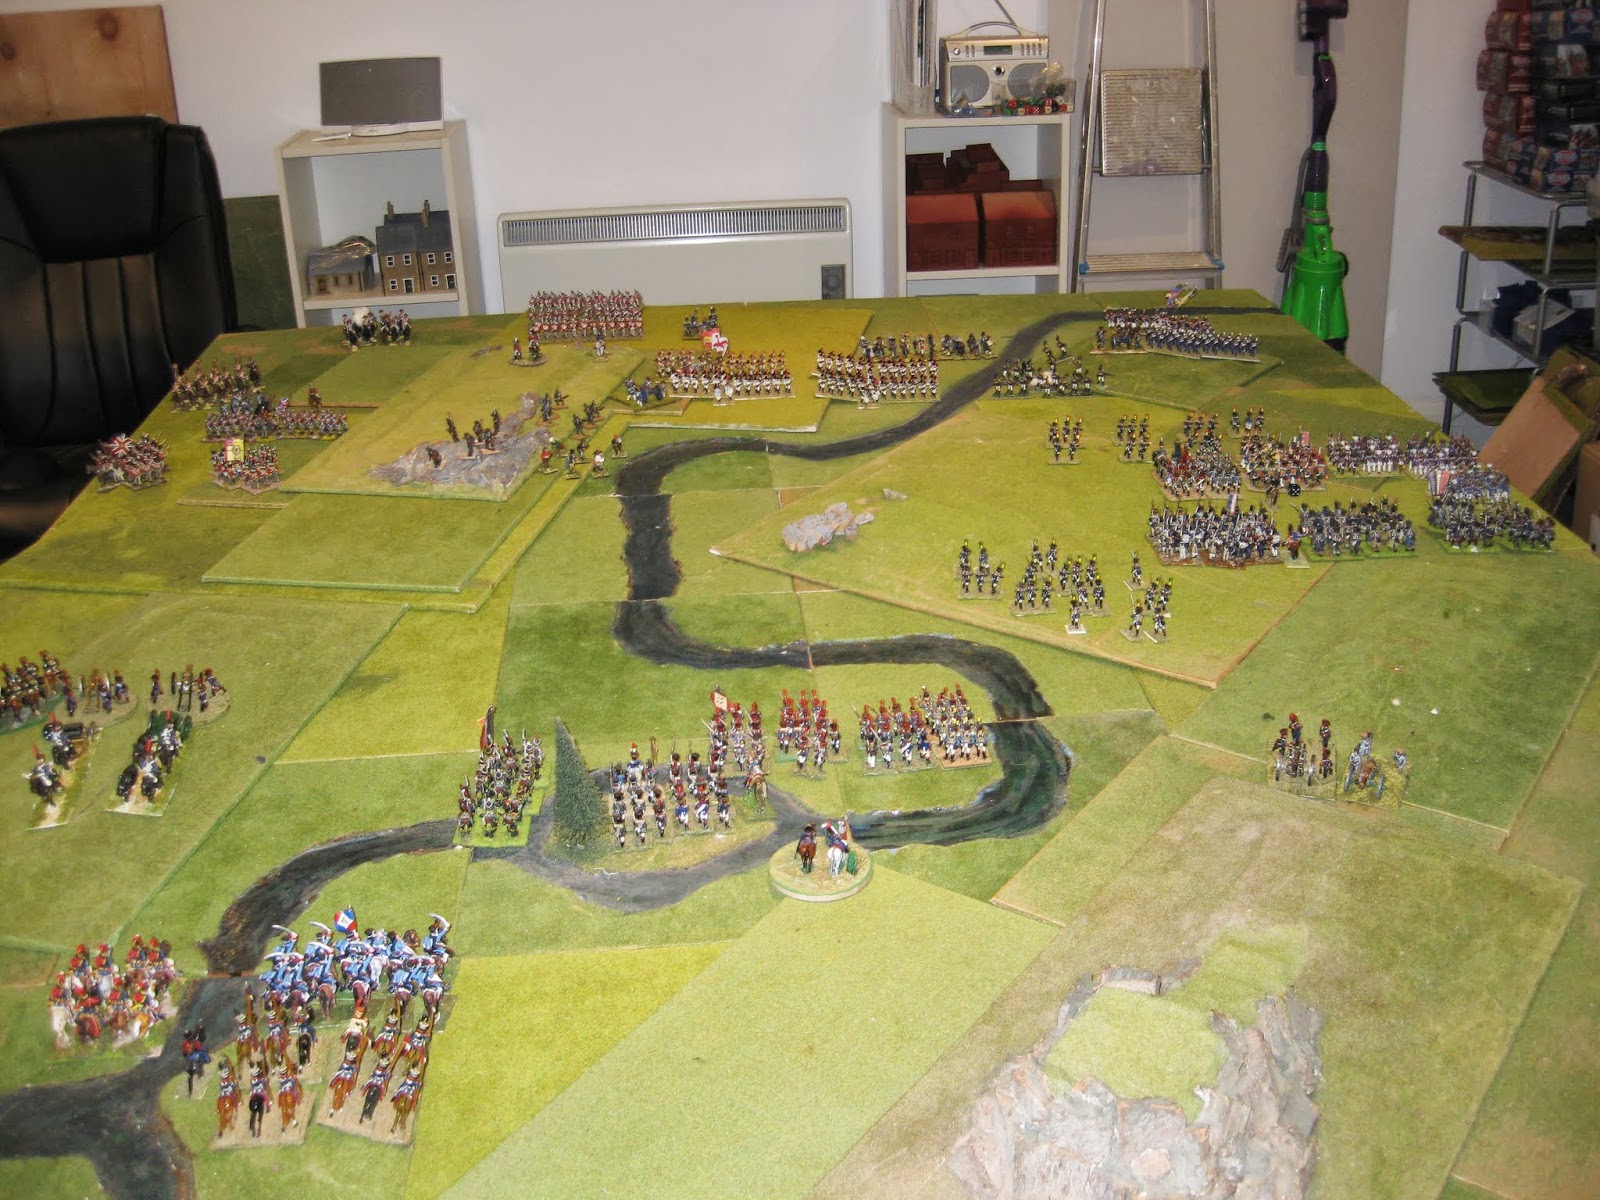
The Spanish cavalry on the right weighed up it's chances charging the French Dragoons, but decided that 2 small units and closing fire from the artillery was too risky and stayed put shielding the hastily deploying British 1st Brigade battalions as they formed square. The error in the Spanish cavalry's thinking was that the Dragoons would not have stood still but would have counter charged masking the guns. An opportunity missed here.
The 1st Brigades skirmishers clambered on to a rocky knoll and used their Baker rifles to snipe at the French Dragoons horse artillery managing one hit, not enough to shake it. Meanwhile the 1st Brigade Royal Artillery failed their command roll to join and sat still. Worse the Royal Artillery with the 2nd Brigade did the same.
The British Light Cavalry brigade having been broken in the previous turn began to retreat away from the advancing French. This took them in to the Portuguese brigade which forced the cavalry back further exiting the board.
The Portuguese stayed put and awaited the French, The Cazadores began skirmishing with the French Leger but to little effect.
The French Light Cavalry brigade failed it's command dice roll but not until their horse artillery joined the Dragoon brigade firing on the Spanish Rey regiment. A lucky 6 caused the Spaniards to disorder and a failed morale roll forced them back to the Allied base line.
The French 3rd Brigade managed to clamber across the stream while the 1st and 2nd Brigades continued their advance on the Portuguese. The 2nd Leger returned the Cazadores fire causing 2 casualties and disordered them. The 2nd Brigades second Leger battalion began to lag behind has it changed formation and entered rough ground on the central hill overlooking the Allied centre.
The French artillery brigade continued its very slow advance along the ridge of the hills impacted by poor dice rolls reducing them to 1 move plus the ground was rough which halved their movement.
 |
| French advance |
 |
| French 3rd Brigade in the middle crossing the stream |
 |
| French Horse Artillery |
 |
| View of the middle of the board before the French main attack closes in |
 |
| British 1st Brigade hold the right |
 |
| Portuguese hold the left |
 |
| Allied battle line |
 |
| Allied battle line |
Turn 3
The Portuguese opened fire on the advancing French and too the Allied horror caused no significant damage. The French were going to close practically fresh with all their force against this little brigade.
The Allied centre couldn't see anything to shoot at leaving the remaining shooting to the British squares which had no affect on the French Dragoon and Horse Artillery.
The British 1st Brigade's artillery once again tried to reach the crest of the hill to dominate either the French left or centre but failed to receive orders. The reserve British 2nd brigade equally failed to receive orders to occupy the what would soon become the central hill of Allied defence.
The French had better luck with their command dice moving up their 3rd Brigade to support the Dragoons and finally getting their Light Cavalry to cross the stream to support both. The Horse Artillery did little damage to the British squares but the 3rd Brigade infantry now in line disordered both a company of the 95th Rifles and some Spanish guerrillas. The 95th were then subsequently shaken.

The remaining 95th Rifles company on the knoll fired at the approaching 2nd Leger who now in skirmish formation covered the hill opposite. Despite their better training and equipment their were not enough riflemen to make a difference to their opposite numbers from France.

The French main attack charged home on the British left. The disordered Cazadores had no choice but to stand their ground in skirmish order and continued their poor shooting despite being one of the best units on the board. They made up for it by holding their ground after their melee, but on top of their disorder they had taken so many casualties that they became shaken.
The closing fire from 1/18th Porto and the Portuguese artillery did nothing to slow the French charge allowing two attack columns, of the Coriscans and one of the 70th Line to hit home. At last they began taking casualties but in turn managed to shake the 1/18th Porto. The Portuguese are doomed with two battalions shaken from the three in the brigade they will be broken at the beginning of the next Allied turn. Since their combat is ongoing the gallant Portuguese Brigadier cannot use command dice to rally any of his units.

On the plus side because the Portuguese battalions both held their ground the combat will continue next turn although 1/23rd 2nd Almeida who were in support will have to retreat, not their best first battle.
The Allies now have lost 2 brigades of 6. 2 more broken brigades and that will be the end of the Allied forces, giving the French a clear victory.
Turn 4
The Allies dismayed at the stalemate or by now a holding action on their right, plus imminent collapse of their left begin to shift their axis. The Spanish moved up to the stream and formed a three battalion line to bring the French supporting the battalions attacking the Portuguese under fire. Their fire managed to disorder the 2nd Leger supporting the attack on the Cazadores.
The attached Spanish artillery achieve what the British have not and pull their gun battery up to the central hill of the Allied defence. Next turn it will be able to fire the main French attack.
At the same time the British reserve finally receives orders and moves to cover the exposed left flank while ready to support the Spanish. They achieve this in time to watch the 1/23rd 2nd Almeida retreat in good order across the stream and off the board.

The British 1st Brigade maintains it's position while the supporting Spanish cavalry restore orders in their ranks ready to continue the fight. The Spanish cavalry commander uses his command dice to reduce casualties on the lancers but in his heart it is too little too late. They are only a 2 unit brigade and the massed French could easily break it with shooting before they could get close.

The French Foot Artillery fails to receive orders, and for one reason or another everyone else stays put. The Brigades on the French left continue their firing doing little damage to the British squares or the weakened skirmishers. The 2nd Leger on the hill opposite the knoll shake the Spanish guerrillas with their shooting.
The French 1st Brigade finish off the Portuguese advancing to take their positions and face the new Spanish battle line. The Coriscan regiment sustains a shaken result.
 |
| The Portuguese fight on to the last |
 |
| First the Cazadores go and the French 1/70th take their position |

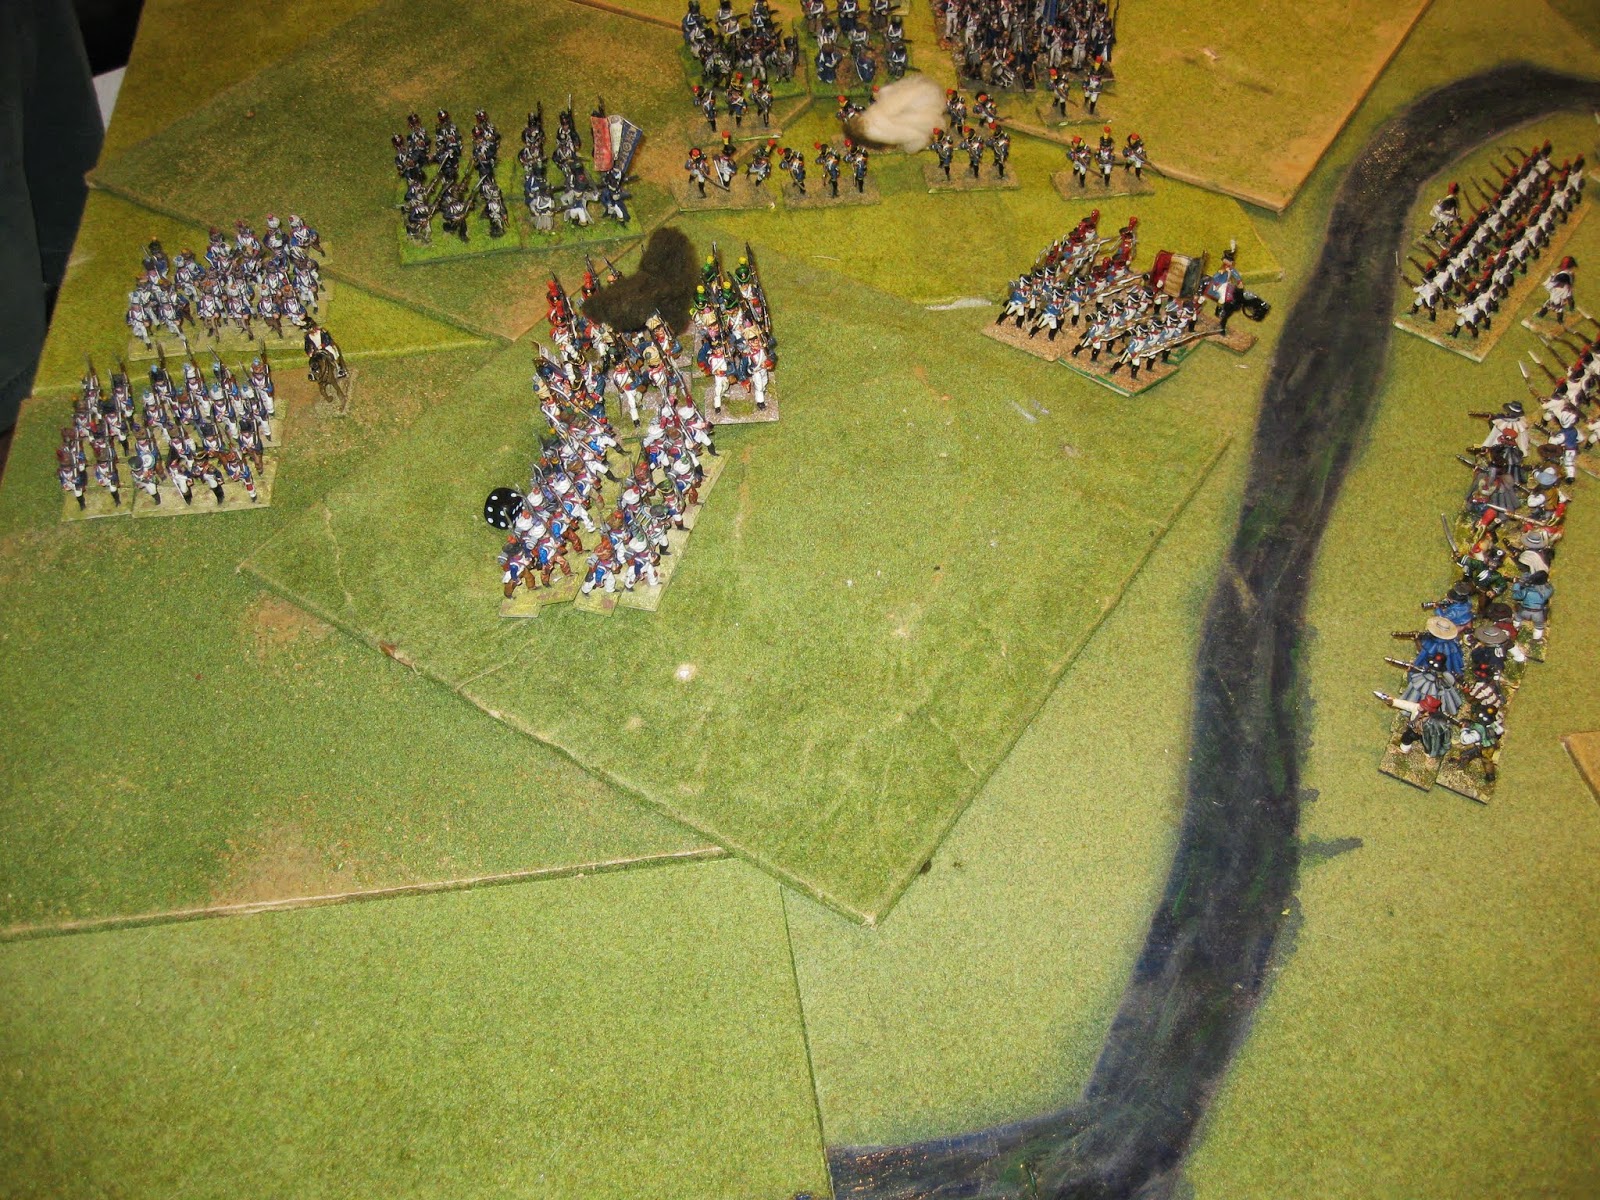 |
| Then the 1/18th 2nd Porto flee with another battalion of the 70th taking their ground. |
 |
| French position after the disintegration of the Portuguese brigade. |
Turn 5
The Spanish infantry fire for the second time in the battle and cause little damage. The Spanish artillery on the hill has similar poor luck. Everyone else stays put either by choice or poor dice.
The French main attack led by their 1st Brigade begins it's turn to attack the Spanish but poor command dice left it with 2 battalions, the 1/70th from 1st Brigade and the 55th from the 2nd Brigade facing them. Their shooting left Principe disordered and the Cantabria one hit from shaken. Worse a battalion from the 70th who had just taken the 1/18th 2nd Porto's position opened fire on the Spanish Militia causing it to take a break test which failed and headed off after the retreating Portuguese.
Sensing victory and fed up from doing little damage from mid range the French Horse Artillery galloped up to the Gloucester's and let them have it at close range. Although damaged the gallant Gloucesters hold. The French 3rd Brigade followed up to support, still in line and opened fire disordering and shaking the West Kent.
The Allies position did not look good. On a positive note at least one British brigade should be able to escape, as could the Spanish cavalry.
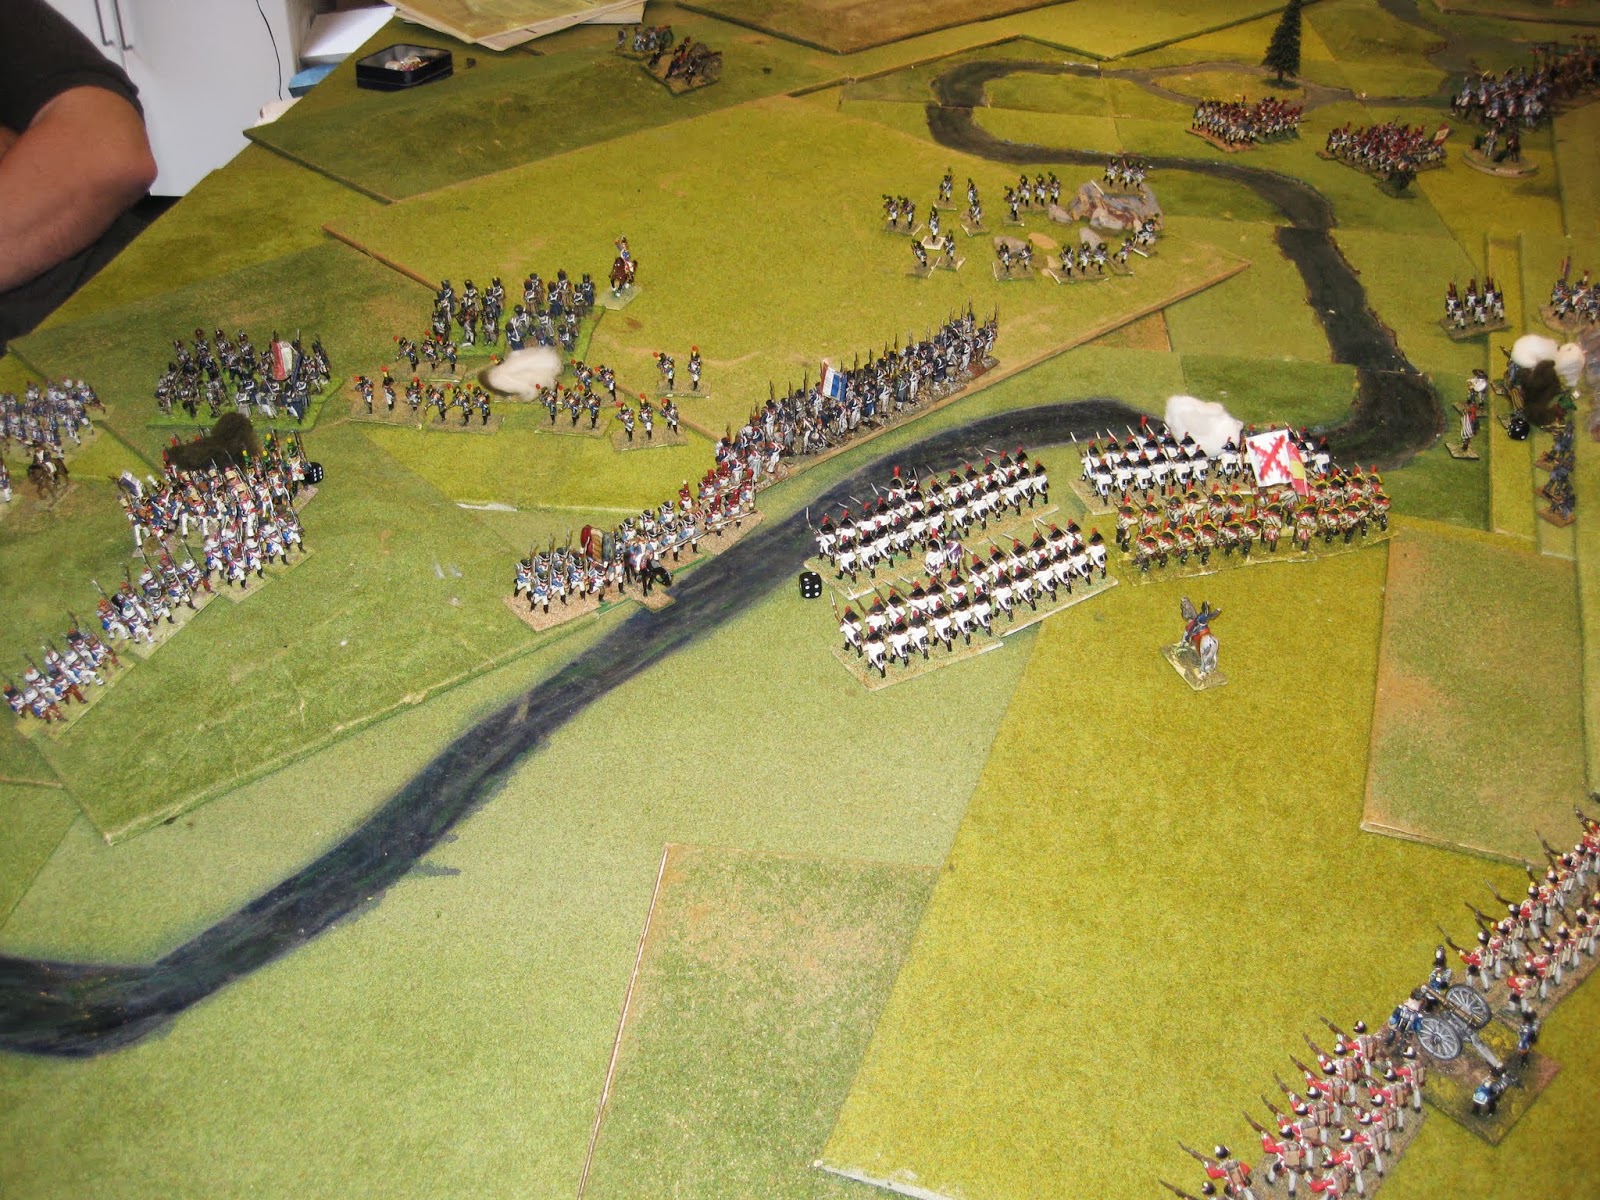 |
| There seems to be a Militia battalion missing |

 |
| The squares weather the storm but for how long |
 |
| The end |
The French were eager for another turn but the heart had gone out of the Allies, that and a headache and, at that point suffering from the heat of the hottest day of the year (since been beaten, with added humidity). I therefore conceded. Note the headache and heat did not contribute to the Allied loss. The French had great dice from the start and a more coherent plan.
Victory to the French.
Review
We both thoroughly enjoyed ourselves and we've decided to play this battle again. I'll add up the points of both sides to ensure they are balanced, and perhaps change the base lines so that play is diagonally across the board so that hills can be used to their full effect e.g. Brits below the crest etc.
We didn't get to try many of the new rules but we found that the attack column rule giving the French an extra dice on command kept them moving and at a greater pace. We only managed two shots where we could apply the grazing fire rule and this worked well, although neither of us caused a lot of casualties.
Since I didn't get the Royal Artillery in to play I didn't get a chance to try out the shrapnel rule which was a pity.
All in all I found the Albion Triumphant Peninsular supplement really useful giving a nice period feel to the game. I'm looking forward to the next game.


